Bumfortable Kayak Seat
It all started with a pain in the bum . . .
Everything else was awesome, my paddling skills were ripping, and I was paddling like the wind! But it hurt, my bum and my kayak seat just weren't getting along.
There’s a famous saying: “energy flows where attention goes” and most of my attention was going to the pain instead of fun and good technique. My energy was bottoming out instead of heading forward fast.
The duration I could train for was limited by pain too. I was desperate to make my kayaking comfortable, I wanted a smile on my face and I wanted to win races.
I was working as a graduate design engineer in the foam plastics industry, so it was inevitable I suppose, that I, a competitive racing kayaker, would invent a solution for sore bums and numb legs! … I was sitting on some good information!
As soon as I’d chopped and glued a foam seat masterpiece together for myself, my mates wanted one too - I must have had an annoying grin as I kayaked past them! So I gathered a list of all of the pains and ailments that paddlers suffered from. The number one complaint I got from my research was numb legs, followed by sore “sit bones”, then chafing, then cramps and coldness. Then I spent a couple of months developing and testing the best seat that I could to solve our combined posterior problems.
Good for your body
- Reduced pressure on ischial tuberosity (bum bones) by concavities in the underside of the Bumfortable.
- Designed to prevent chaffing by structurally supporting your back while kayaking through proper posture, rather than allowing pressure on flesh where chaffing occurs.
- Extended length into the hamstring area to reduce pressure and keep hamstrings warm. This aids circulation and reduces cramps.
Good for your kayak
- Lowers your centre of gravity which increases kayak stability (choose the model to suit your kayak's dimensions)
- Reduced incidence of kayak hull damage - A rigid seat structure is more likely to hole the kayak when a rock scrapes along the hull because it represents a sudden change in elastic flexibility of the hull. A Bumfortable, by comparison, will allow the hull to continue elastically flexing as the hull passes along the obstruction highly reducing the chances of structural damage and subsequent required repair.
- Available factory installed: Increasingly, kayak manufacturers are offering the Bumfortable as an option when ordering new boats. If you are a manufacturer and are interested in more information on OEM, please contact us.
Packed with features
- Forgiving: The inbuilt softness reduces pressure points and allows extra rotation.
- Smooth surface finish allows ease of rotation to aid in paddle efficiency.
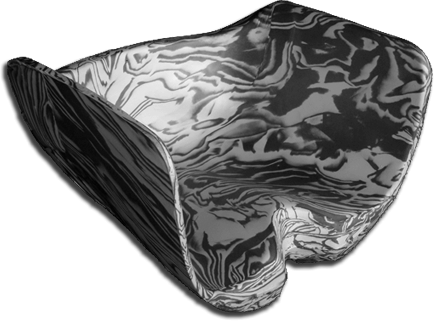
- The Bumfortable closed cell foam can be custom moulded to your particular bum shape by gentle use of heat, (eg hairdryer, hot-water bottle, or domestic fan heater), if you so desire. It is also easy to cut, grind and glue.
- Light weight & completely non-absorbent
- Warm closed cell foam - the Gurney Gears Bumfortable is warmer on cold mornings and more comfortable than fibreglass. Less abrasive and much less likely to make your legs fall asleep.
- Bilge pump flow tunnels incorporated into the underside allow liquid to flow to your bilge pump (bilge pump not included)
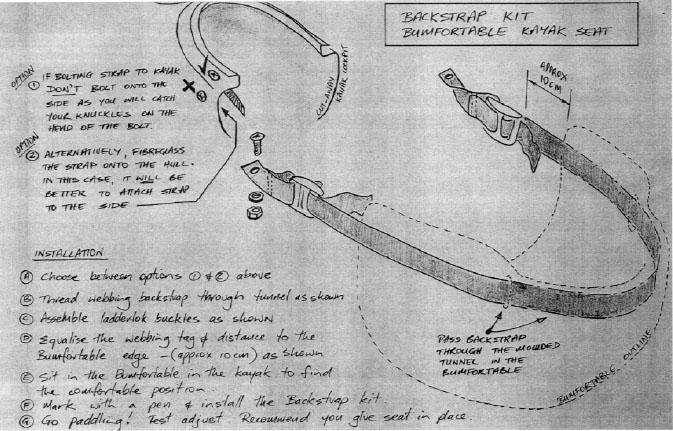
- Back strap option through the moulded backstrap tunnel. (25 mm webbing)
- Side mounts available to firmly attach your seat into any cockpit.
The bottom line
I rate kayak comfort as more important than hull speed: to finish first, first you must finish!
So why not get your hands on the most comfortable kayak seat available?
Your bottom will breathe a sigh of relief!
Do your legs go numb?
Can you hardly feel your bum?
Does your kayak chafe?
Does your bum often ache?
Do you get leg cramps? Are you sick of cold, rigid and unfriendly fibreglass seats?
There’s no need to crack under pressure!
Enjoy the comfortable, Bumfortable today!
Am just returned from week’s paddling journey around the Orkney islands here in northern Scotland. I had great hopes that the newly installed ‘bumfortable’ would ease the awful sciatica which has plagued my paddling for the last three years……………and it did. No pain for the whole week…….wonderful. Paddling some big old north Atlantic seas with plenty wind on top and, for the first time in three years, I was able to look up and engage fully with the natural wonders all about us rather than sit hunched under the pain and popping endless diclofenac.
This seat does exactly what it says on the tin. Thanks for a great product.
Comfort is only half of the seat's story in my view.. It's more what the Bumfortable does to open up kayak choice for the mid-size guy. 'Buy the seat first, then go find your kayak'. So many intermediate kayaks mock my L to XL body type by being too snug in the cockpit/seat area. A standard Swallow seat was a smidge too tight but your seat easily overcame that with the hangers removed. Same problem ruled me out of Opus, Firebolt and other boats I squeezed my backside into along the way. I bought my near-new TE from a tall but slender chap without trying it, based on having paddled one some years back. Horrors when I found JKK now markets two cockpits and apparently the old cockpit is now an XL. My one has a much narrower seat set-up with uncompromising hangars. My bum had no chance of getting past the bolt heads. Thirty minutes with my multi-tool and a sanding block, and eureka, the intrusive hangers were gone to make way for the Bumfortable. Problem solved. I can honestly say that your seat opens up a lot more choices for the kayak buyer with mildly child-bearing hips .. . . and a multi-tool.
It fits perfectly in my Nelo - I tested it yesterday on a cold and windy lake and felt I could paddle forever - and it even kept my backside warm.
There are a lot of kayaks with {not very good} seats ... I have started learning the Greenlander Paddle rolls and find the Bumfortable great as it doesn't restrict sweeping my body low over the back deck ... & provides a firm fit to allow body rotation and hip flick to aid the roll.
Just used the Bumfortables in the Wild Descent Kayak Race and found they were great and would be keen to stock them in my shop Prokayaks." {The Bumfortable is now available at ProKayaks}
I recently purchased a Bumfortable seat. I wish I had bought one when they first became available. This was literally the first time in 27 years of paddling my Isere that I didn't get tailbone pain. And I didn't need my extra thigh supports.
My feet and legs don't fall asleep anymore with the Bumfortable! The seat was super easy to install and a big bonus is that it also fits my Dart. So I can race the USCA downriver class comfortably now.
The Bumfortable seat is one of the easiest and most cost-effective ways to improve the paddling experience that I have come across in almost 3 decades of kayaking.
I bought a Bumfortable for my Time Traveller and never looked back.
Thanks again! I was just at the Western Michigan Coastal Kayak Association symposium this weekend and a few people were quite interested in the seat. I got the idea that I wanted one after seeing Paul's last year. I sat in my boat teaching, which is stressful for my bony butt, all morning and all afternoon and had no pain. Love it!
I was on the verge of giving up on this boat, not being able to get more than an hour of paddling before I lost the feeling in my legs, and experiencing considerable bum and back pain as a result.
After fitting the Bumfortable, for the first time in 18 months I was able to paddle for over three hours, without any discomfort at all.....what a revelation.
...just wanted to say how absolutely amazing your Bumfortable seat was. Never been so comfortable and felt like the seat was a custom design just for me.
I have had problems for years with my feet going to sleep after 3-4 kilometres of paddling. I've tried several different grp seats, different distance between seat and foot rest, different angle to the foot rest, and so on, but nothing has helped.
Along came the Bumfortable seat, and all my problems were instantly gone!
Amazing! Highly recommended product!
I entered the Coast to Coast without any paddling practice and after my first outing on the kayak I thought what the hell am I doing, my right butt cheek burned and my feet were going numb. The pain had me close to tears (in a manly kinda way). I tried physio and stretching but nothing changed... until..... I stumbled across the bumfortable! I have just got back from an hour kayaking with the newly installed bumfortable in place. My bum didn't scream in pain and my feet didn't go numb, I am such a happy camper and am now looking forward to going kayaking again. Thank you Steve and your Bumfortable, it has made a huge difference to me being able to achieve my Coast to Coast goal.
Methodical measuring method
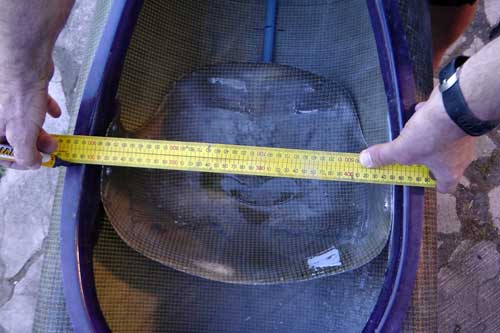
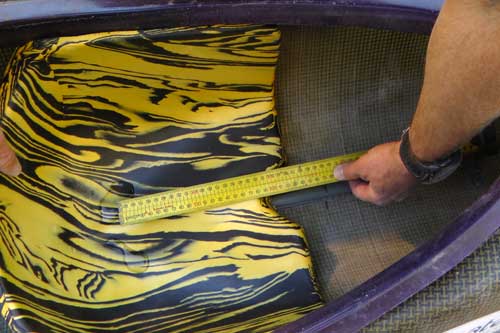
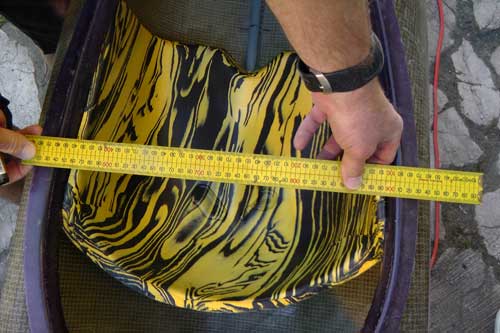
- If you are happy that the old seat was in the correct position for boat trim, then record the position of the old seat as follows:
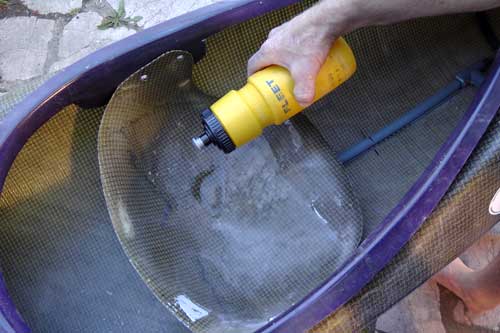
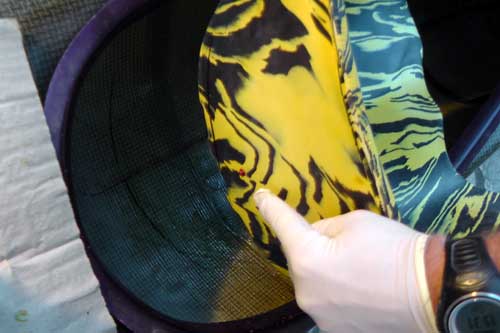
- Position the boat on a level floor or deck. Put a spoonful of water in each butt cheek recess to find and calibrate the lowest point of the seat.
(I could’ve used marbles...
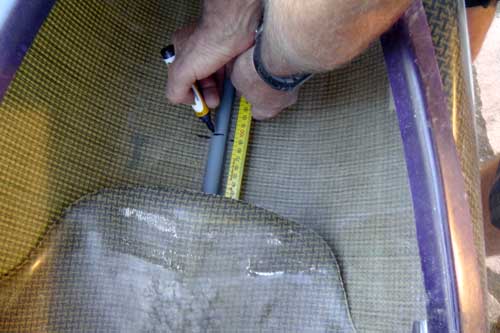
but I lost them already …). - Put a mark inside the bottom of the hull of your boat with a pen or piece of tape, approx 10 cm in front of your old seat.
- With a tape measure or a ruler, record the distance from that mark to the middle of the pooled water. Alternatively if your eye judgment is top notch, then you could “eye-chrometer” it by standing directly above the pooled water, and mark this position on the side of the cockpit. We will use these measurements later to position the Bumfortable.
- Position the boat on a level floor or deck. Put a spoonful of water in each butt cheek recess to find and calibrate the lowest point of the seat.
- Remove the old seat, and chop off the flanges if you are installing a wedge kit.
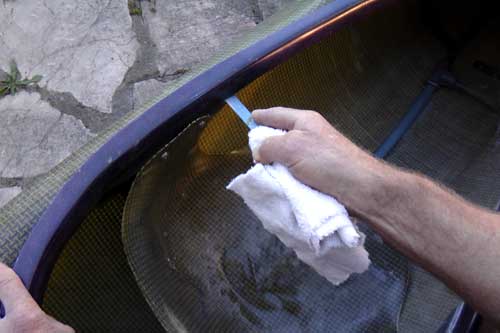
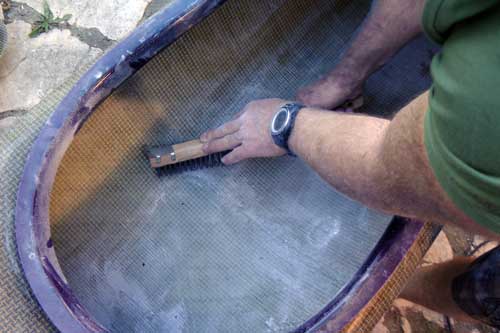
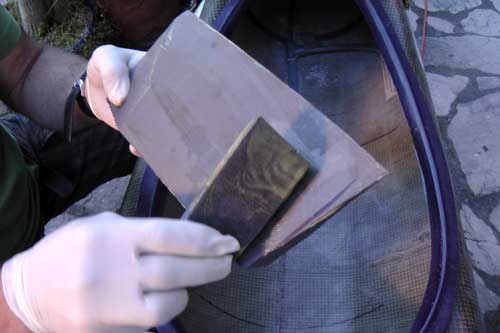
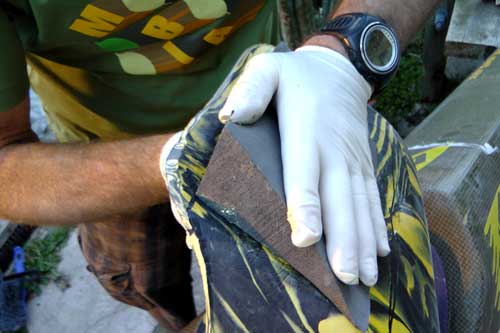
- It is important that the hull is clean and dry before gluing the Bumfortable in, otherwise the glue could fail, causing the seat to move during racing or training. If the hull is really dirty use a scrubbing brush and soapy water to remove dirt and sand. Alternatively, use a wire brush to scrub off old glue and dirt.
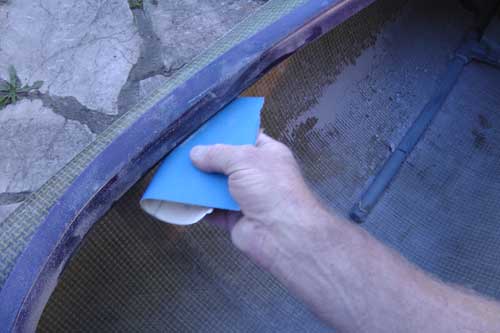
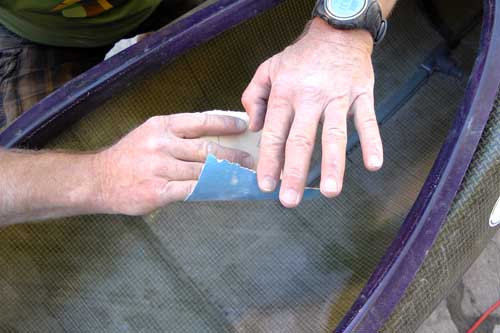
- Use medium grit sandpaper to give the area to be glued a quick buff.
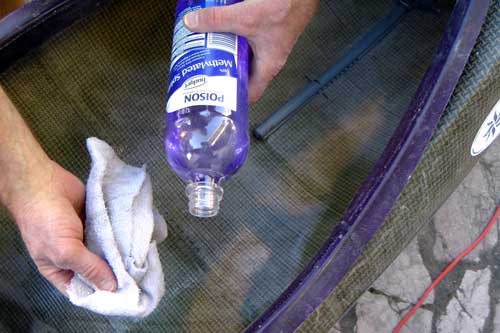
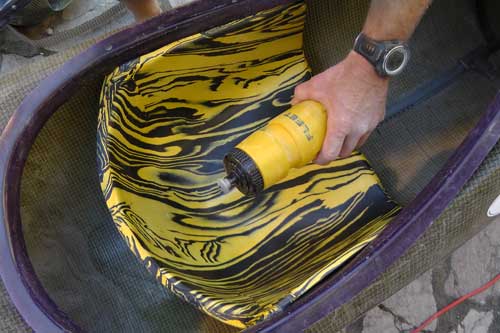
- When the hull is dry, use methylated spirits / alcohol to clean the hull and Bumfortable by wiping, using a clean cloth.
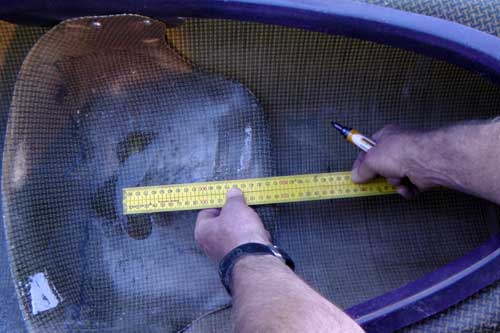
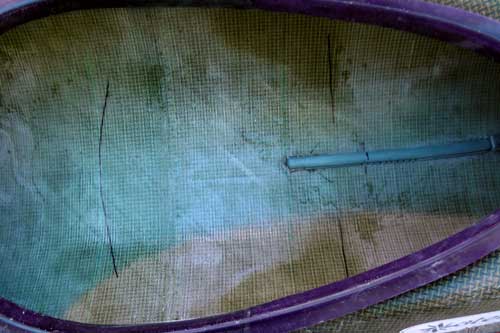
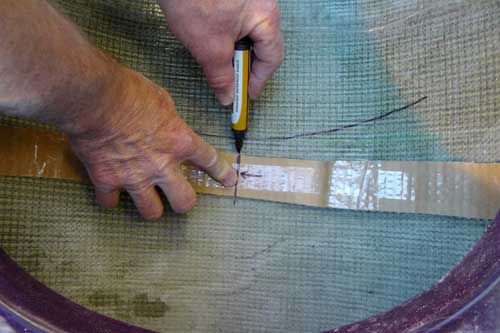
- Mark a centerline along the inside spine of your boat using a 600mm long strip of cardboard, or thin wire, as follows;
- Lay the cardboard strip/wire perpendicular to the length of your boat, across the bottom of your hull.
- Trim it to length so that the ends rest exactly at the seam lines half way up the insides of your boat.
- Now mark the mid-point of the cardboard strip/wire by folding it exactly in half and back out again.
- Put it back inside your boat and mark several centre-line points inside your hull from the front of the cockpit to the back.
- Use a long straight-edge to draw a centre-line
- Use this centre-line to line up the centre of the Bumfortable
- The Bumfortable has centre datums for you to align with your centre-line you drew; use the small nipple on the back surface, and the inside of the front curve.
- Next we need to test the Bumfortable position before gluing it in.
- Place the kayak on flat ground, no stones, with blankets supporting the sides around the cockpit area so as not to strain the boat when you sit in it, and to maintain the natural shape of the hull. Place the seat in the boat.
- Either position the Bumfortable as in (1) above with a spoon of water in each butt cheek recess and measure to your mark; or you could figure it out by sitting in it, with your feet on the footrest in your normal paddling position, jiggle it around until you get the familiar seating distance.
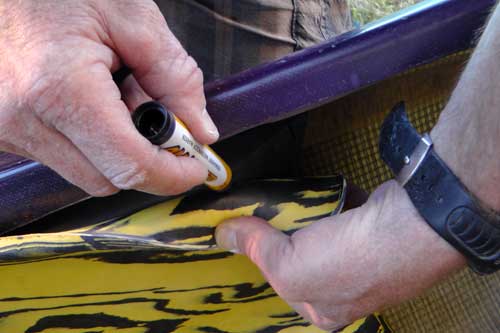
- If you need to adjust the seating position to get the boat trim correct, then you can paddle the kayak with the Bumfortable loose in the kayak, with an observer. Take a marker pen in the boat with you to record the final Bumfortable position when you have the kinetic trim balanced.
- If you need to pad out the sides for more support, place the wedges from the wedge kit between the hull and the seat and mark their positions. You may need trim bits off the wedges to suit your requirements.
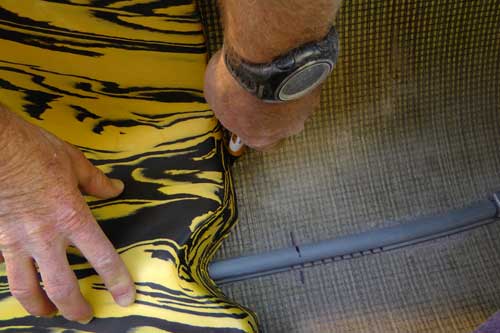
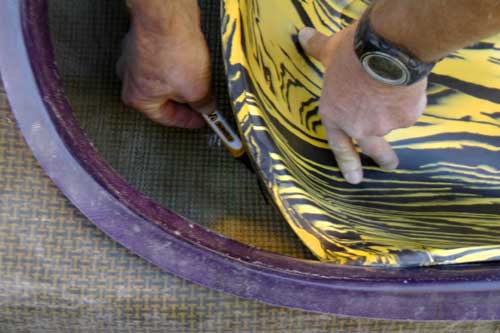
- It’s easy to route rudder cables; drink hoses etc conveniently down the sides, between the Bumfortable and the hull.
Gluing in the Bumfortable
If you are using a wedge kit, I recommend you glue the wedges onto the kayak hull before gluing the Bumfortable in. See the section on fitting wedge kits.
Align the Bumfortable with your marks from the fitting instructions above.
There are 2 alternatives for gluing:
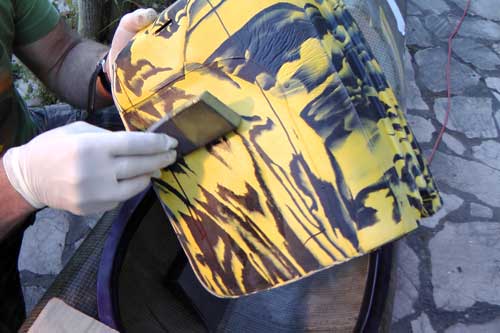
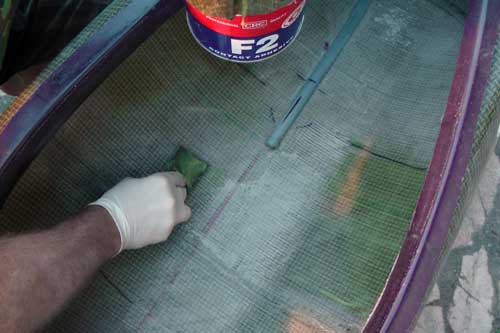
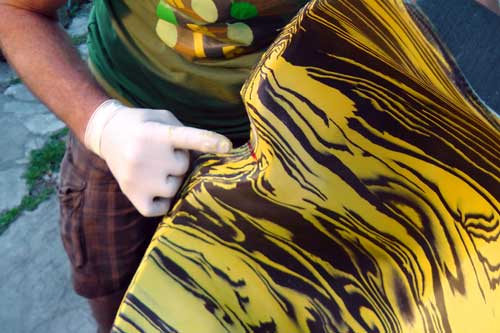
- Contact Adhesive such as Ados F2 or Bostick Contact Adhesive. Contact adhesive requires you to spread a thin layer of the glue over the entirety of both surfaces using a plaster spreader, an old knife or a flexible piece of plastic cut from an old container. You’ll need to wait for 5 to 10 minutes until the glue’s just gone touch dry and then bring place the Bumfortable accurately into place. You only get one chance to locate it accurately as it’s an instant contact bond. Then push the Bumfortable firmly all over to ensure a good contact. You could even sit in it to apply pressure. The bond is complete and you can go paddling immediately to revel in your new comfort! Follow the instructions of the glue manufacturer.
- Construction adhesive with a cartridge gun, such as “No More Nails”. Construction adhesive is simpler in some ways than Contact Adhesive, in that it allows you to shift the Bumfortable before the glue sets to align with your marks, thus reducing the pressure to be so accurate in initial placement. However, you will need to allow some hours for the glue to set before you can use the kayak. You may need to hold the Bumfortable in place while the glue sets too, with something like tape or stuffing the seat cavity with an old pillow to press it against the sides of the hull.
Using Velcro? The adjustability question….
Bumfortables are best glued securely into the hull, as with any seat. However, some folks want to have adjustability in their kayak seat position. Some have tried using Velcro with varying success rates.
Reasons for having an adjustable position:
- Multiple users of the boat. Eg a club or families. It’s often quicker than adjusting the foot rests for different users of the boat. But beware this alters the trim of the boat
- Removability for placing buoyancy and gear in the back of the boat.
We've tried using Velcro to fit Bumfortables. It works if you don't transport the kayak on a vehicle, if you never push too hard on the footrests, if you never roll or fall out and if you never get sand or dirt in the bottom of your kayak.
In other words, in my opinion it's not practical at all. Nice try, but I believe Velcro is not secure enough and will likely eventually give the following problems:
- It only takes a little sand, dirt or fluff to clog the velcro, and effectively render it useless. Sand and dirt always collect on the bottom of the hull, exactly where the velcro is
- Pushing hard on footrests will dislodge. (Pushing hard is occasionally part of the kayak technique isn't it?)
- Rough water may dislodge, such as using an energetic support stroke, or roll.
- Taking an accidental swim will almost certainly dislodge the Bumfortable. Bumfortables are very buoyant, but it is yet another thing to retrieve (or lose) whilst swimming through rapids.
- Even if not dislodged, i would never be 100% confident. I have more important things to focus on. I want Bumfortables to make the paddling experience simpler and more enjoyable.
- It is very likely that the Bumfortable will blow out when transporting the kayak on the roof racks.
If you really, really want to use Velcro
We've got customers that have successfully used Velcro by using our webbing Back-strap kit for extra support and security, keeping their boat clean from dirt and sand, and being careful while getting in and out.
If you're a flat water paddler who keeps your boat clean and is prepared to remove the Bumfortable for transport then Velcro might work for you. Use construction wallboard adhesive in a cartridge.
Fitting a Bumfortable to a Skin on Frame Kayak
The Bumfortable isn't just for racing - it is also good for Sea Kayaks that don't have a seat that is an integral part of the kayak's structural support, or seal for a compartment for water tightness. Many people use the Bumfortable for recreational and touring boats.
Bumfortables require the supporting structure of a hull for its "shape", but not for "strength". It doesn't need lots of support, water is very supportive over the area of the seat. The skin of such a kayak structure provides the shape and support, but might deform the flow lines of the skin a little bit.
Plywood as a base and sides for the Bumfortable would also work, but I'd recommend making it thin and flexible plywood, or plastic sheeting. Using thick and rigid plywood is a heavier than necessary way to do it, and the rigidity of the plywood introduces a kind of "stress concentration" compared to the relative springiness of the rest of the frame.
If your kayak is wider than 500mm at the cockpit, you'll need a wedge kit of some other system to "fill the gap" between the Bumfortable and the sides of the hull.
One way to do this is to build your plywood sides close to the Bumfortable. Otherwise, get a wedge kit to fill the gap.
Another way to do it is to "hang" the Bumfortable in a kind of skin cradle, suspended from the coaming, with foam wedges on the sides to stop swinging side to side.


